


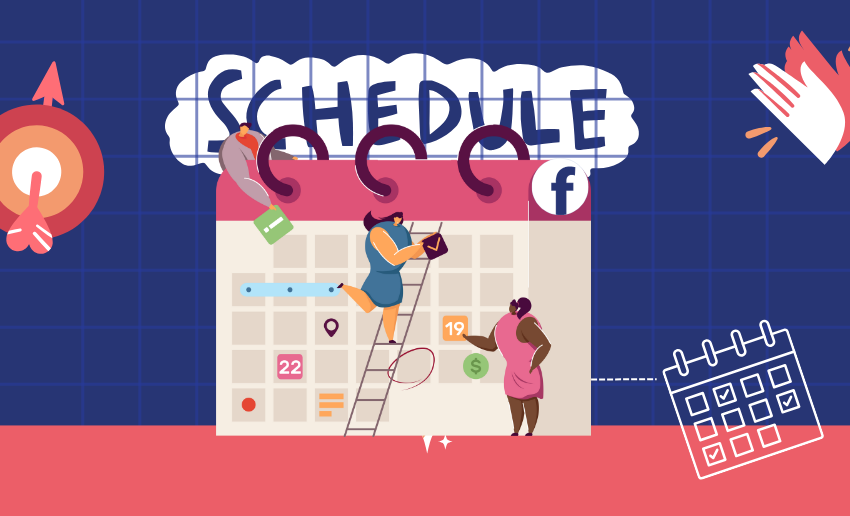
Posting at the right time can make a big difference on social media and Facebook is no exception. From promoting a product, sharing updates, or posting engaging content, timing plays a major role in how many people actually see your post. This makes learning how to schedule a post on Facebook such a valuable skill.
Instead of posting manually every time, scheduling lets you plan your content in advance and make sure it goes live when your audience is most active. This is especially helpful for business owners, content creators, and social media managers who want to stay consistent without being online 24/7.
In this article, you’ll learn the step-by-step process to schedule a Facebook post using simple tools built right into the platform.
Why scheduling Facebook posts is beneficial
Scheduling a post on Facebook means setting up your content like a text update, photo, video, or link to be published automatically at a later date and time. Instead of posting right away, you choose exactly when it should go live.
1. Save time and stay consistent
When you schedule Facebook posts ahead of time, you don’t have to log in every day to post content manually. This helps you stay consistent with your posting routine, even when you’re busy. With a set Facebook post schedule, your followers get regular updates, and your Page stays active without you always being online.
2. Reach your audience at the best times
Posting when your audience is most active increases engagement. With scheduling a post on Facebook, you can choose the exact time your post goes live. This means more likes, comments, and shares because your content appears when people are most likely to see it. Timing can make all the difference in how well your post performs.
3. Plan ahead like a pro
When you schedule posts, you get to plan your content days or even weeks in advance. This helps you avoid last-minute stress and gives you time to create higher-quality content. Whether it’s promotions, holidays, or important events, having a solid Facebook post schedule keeps you prepared and in control of your content strategy.
4. Stay active even when you’re offline
Life gets busy and sometimes you just can’t be online to post. Scheduling Facebook posts means your content still goes out, even when you’re away. You can be on vacation or in a meeting, and your Page will still look active. This helps you maintain a strong online presence without being glued to your phone or laptop all the time.
5. Keep your brand message clear and organized
Using scheduled posts helps you see the bigger picture of what you’re sharing. You can avoid repeating the same content or sending mixed messages. With proper planning, every post supports your brand voice and goals. When you know how to schedule a post on Facebook, you’re building a stronger, more consistent brand.
6. Use analytics to improve future posts
Scheduled posts give you time to track and analyze what’s working. You can look at how different posts perform and adjust your strategy based on real results. Are morning posts getting more likes? Are certain topics more popular? Scheduling gives you space to review your analytics and improve your content over time making each future post more effective than the last.
How to schedule a post on Facebook
Before you can schedule a post on Facebook, there are a few things you need to have in place. These requirements ensure that you’re using the right tools and have the correct permissions to access Facebook’s scheduling features. They include:
- You must have a Facebook account and be linked to either a Facebook Page or Group. Post scheduling is only available for business Pages and Groups, not for personal profiles.
- To schedule posts, your account must have the right level of access. Only users with Admin or Editor permissions on the Page can create scheduled content. If you’re just a viewer or have limited access, the scheduling options won’t appear.
- Facebook post scheduling is managed through Meta Business Suite, which is available on both desktop and mobile.
Using a Desktop browser
If you’re working from a computer, start by logging into your Facebook account through a web browser. From there:
- Click “Pages” in the top-left corner of the sidebar.
- Open Meta Business Suite. You can also go directly to business.facebook.com and sign in.
- In the left menu, select “Planner”, then click “Schedule” and choose “Schedule post.”
- Pick a date and time, or use one of the suggested “Active times” for better engagement.
- Create your content, then hit “Save.”
- When you’re done, click “Schedule post” to finalize and queue your content.
Using the Meta Business Suite mobile app
To schedule from your phone, you’ll first need to install the Meta Business Suite app. After logging in:
- Tap the plus icon (+) at the bottom of the screen and choose “Post.”
- Select the Page you’d like to post on, write your caption, and tap “Next.”
- On the Review screen, choose “Schedule for later.”
- Set your preferred date and time, then tap “Schedule” to confirm.
With these simple steps, you can keep your Facebook post schedule full and active without needing to post in real time.
How to manage scheduled posts on Facebook
Once you’ve scheduled your posts using Meta Business Suite, you might want to make changes such as editing the content, moving it to drafts, or picking a new time. Managing scheduled posts is simple adn you can do it by following these steps:
- Switch to the Facebook Page where the post was scheduled.
- From your Page’s left-hand menu, select Meta Business Suite.
- Start with the Planner.
- Click “Create Post” below your Page’s profile image if needed.
- Then go to the Planner section from the left-side menu.
- Locate the Scheduled Post.
- Browse the calendar and find the post you want to adjust.
- Use the Week or Month view toggle at the top-left to help you navigate.
- Click the Post and Select “Options”
Here, you’ll find several actions you can take:- Edit Post: Update the caption, image, link, or location.
- Duplicate Post: Make a copy to use as a new post.
- Reschedule Post: Change the scheduled date and time.
- Move to Drafts: Cancel scheduling and save it as a draft.
- Delete Post: Remove it entirely from your queue.
These tools make it easy to stay flexible and in control of your content strategy, even after you’ve set your Facebook post schedule.
Can I use third-party tools to schedule posts on Facebook?
Yes, you can use third-party tools to schedule Facebook posts. This can be handy if you’re managing multiple accounts or want more advanced features. These tools work with Facebook’s API to let you create, schedule, and manage posts outside of Meta Business Suite.
Some popular third-party options include:
- Pushbio
- Buffer
- Hootsuite
- Sprout Social
These platforms often offer added benefits like:
- Cross-posting to multiple social networks at once.
- More detailed analytics and performance tracking.
- Team collaboration features.
- Built-in content calendars and AI writing tools.
How to schedule posts on Facebook with Pushbio
Pushbio makes it easy to plan and schedule posts ahead of time. Business owners, content creators, freelancers, and Influencers can automate their updates without being online 24/7. Here’s a quick guide to help you get started with scheduling posts using Pushbio.
- Create an account on Pushbio.
- After creating your account, set up your page the way you want.
- Next, click on ‘Social Scheduler’ on the left menu bar.

- On the left menu bar and scroll to the ‘Configuration’ section and click on the ‘Social accounts’ button.

- Click on add account and select Facebook on the pop-up page.

- This will load the Facebook interface with Pushbio requesting access to the account. Click on ‘Continue as…’ to proceed.

- From here, follow the onscreen prompt to grant Pushbio access your Facebook page.

Once all is set, you can then create posts from your Pushbio account and schedule them for launch on Facebook at a later date. Asides from Facebook, you can also schedule
6 Tips for scheduling Facebook posts
Scheduling Facebook posts alone doesn’t guarantee the success of your post. The quality of your post is what makes it successful. However, scheduling can help get your quality content to your audience at the appropriate time.
To ensure you maximize your scheduling capabilities, here are six simple but effective tips to help you make the most of your Facebook post schedule and grow your online presence:
1. Know when your audience Is most active
Before you pick a time, check when your followers are usually online. Use Facebook Insights or Meta Business Suite’s suggested active times to schedule your posts for when engagement is highest. This boosts your chances of getting more likes, comments, and shares even if you’re not online when the post goes live.
2. Plan content around holidays and events
Look ahead at your calendar and schedule posts for upcoming events, holidays, or campaigns. This helps you stay relevant and prepared. This can be around a national celebration, product launch, or awareness day. By doing this, pre-scheduling ensures you never miss an important moment.
3. Mix up your content types
Don’t schedule only one kind of content. Rotate between videos, images, links, and text updates. A varied schedule keeps your audience interested and gives you insight into which formats work best. Keep things fresh to avoid being predictable.
4. Write captions that still feel timely
Since scheduled posts are written in advance, avoid language that could feel outdated by the time it goes live. Instead of saying “today,” use the actual date or time of the event. This keeps your message clear and avoids confusion.
5. Monitor and adjust when needed
Just because a post is scheduled doesn’t mean it’s set in stone. Log in regularly to review your upcoming content. If something major changes like a news event or a shift in your brand’s focus, you can always edit, reschedule, or delete the post to keep things aligned.
6. Use Scheduling tools wisely
If you’re managing several accounts or want more features, third-party tools like Pushbio, Hootsuite, or Sprout Social can offer better flexibility than Meta Business Suite alone. These platforms help automate tasks, manage approval workflows, and analyze results making your schedule Facebook post process smoother and more strategic.
Why can’t I schedule posts on my Facebook page anymore?
Scheduling is only available for business Pages and Groups, and you need the right tools and permissions. If the Schedule option disappears, it’s often because:
- You’re not an Admin or Editor on the Page
- You’re using a personal profile instead of a business Page
- A browser glitch or outdated app could also hide the scheduling button
To fix it, ensure you’re on a Page, have the correct role, and schedule posts through Meta Business Suite or a supported third-party tool.
To wrap up
Scheduling a post on Facebook is a way to stay organized and reach your audience at the right time. Planning your content ahead of time gives you room for consistency, reduces stress, and improves your chances of better engagement. To recap, all you need is a Facebook Page, access to Meta Business Suite, and a few minutes to choose your content, date, and time. You can also manage and edit scheduled posts easily or even use third-party tools for more advanced features.