

Amazon is the biggest seller of merchandise online and around the world. The platform is easy to use; it provides a wide range of products and still remains simple enough for both seller and buyer. One of its most notable features is the Amazon Wish List.
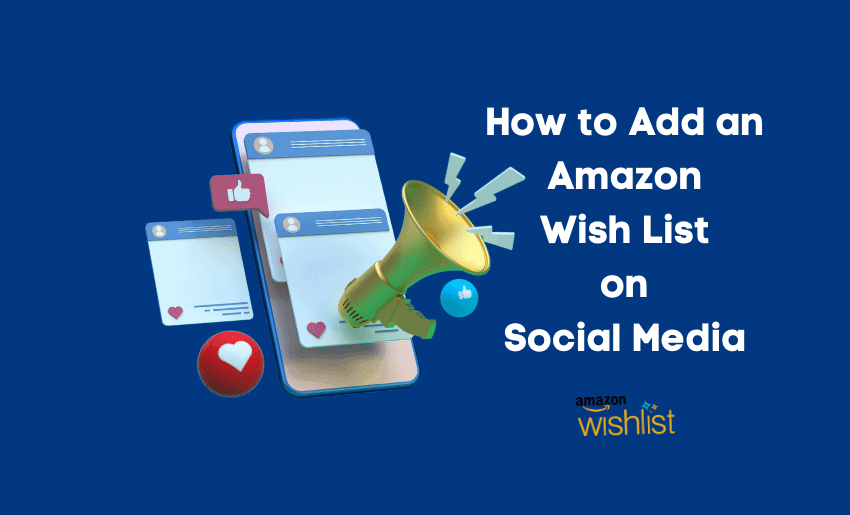
The amazon wish list is a collection of products you want, either for yourself or to gift someone else. It’s a simple tool that has evolved over the years and is now more than just a tracking tool for your most preferred items. Today, you can now share your wish list with others and even onto other platforms. And in this piece, we’ll show you how to add an Amazon Wish List on social media.

After adding items to your wish list (more on this later), it’s time to share it. Amazon gives you plenty of options to decide how you want to share your wish list and with whom you want to share it.

However, before you can share your list, you have to change the privacy setting.
Changing the Privacy Setting of your Amazon Wish List
The privacy setting of your wish list will control who can see it. To change it, follow the steps below:
- Click on the More button on your list page;
- Select Manage list from the options displayed;
- Look for the Privacy option and select either Public or Shared;
- If you select Public, anyone can search for and find your list. If you choose this option, it will be searchable in 15 minutes;
- If you select Shared, only those with the direct link can view your list;
- A third option is the Private setting which hides your list from everyone.
Once you are done, tap on Save Changes. When you share a wish list using the Invite feature, its privacy settings automatically change to “Shared” from Private.
1. Sharing Amazon Wish List on social media
With the growing popularity of social media platforms, you can rely on them to help you get your wish list to several thousand audiences. This holds numerous benefits for both sellers and buyers on the Amazon platform.
Here is how to share your Amazon Wish List on social media platforms:
- Open the Amazon app on your device;
- Click on the three lines icon at the bottom right corner of the page;
- This takes you to the menu from where you can click on Select Lists;
- Select the relevant list you wish to share;
- Click on the “Invite” button to share the wish list;
- Select what an invitee can do with your list. Either to “view only” or be able to “view and edit” your list;
- Choose “More” and then select the social media platform you wish to share your list on from the drop-down menu.
Social media networks provide you with a plethora of spots to share your links. You can add the link to your wish list in a post or send it as a direct message to specific individuals. You can add them to comments as replies to drive engagement.
Additionally, you can create groups or pages to promote your Amazon Wish List further or simply add it to your social media bio section.
Alternatively, you can share your wish list link by mail. Click on the “Invite by Email” to send your link.
2. Sharing your Amazon Wish List link directly
If your preferred social media platform is not displayed for you to share directly, you can still get your wish list to such a platform. This time around, you can copy your Amazon Wish List link and paste it directly into the social network.
- Navigate to your list page;
- Select the list you wish to share;
- Click Send the list to others;
- Set privacy to your preference;
- Click Copy Link to share the link yourself.
After copying the link, head to your social media network of choice and paste it as you would a post.
How to make an Amazon Wish List
Having an Amazon wish list can save you the stress and time of hurriedly going through a purchase. You can use it to create a possible range of items to gift someone later on. You can even send it to others to ease their decision process on a gift item they can get for you.
Follow the steps below to create your own Amazon wish lists:
- Head to the Amazon page online;
- Hover on the Accounts & Lists button and click on the Create a List option;
- Input a preferred name for your list;
- After this, click on Create List.
This creates your list and redirects you to the list page. From here, you can change the settings to your wish list. To do this, click on the “More” button on the right side of the screen and select Manage List.
The Manage List window lets you apply several customization features which allow you to own your page truly:
- You can change the name of your list with the List Name option;
- Select who you want to view your list by using the Privacy option. You can set your list to the public, where anyone can view it, or private, where only you can see it. Alternatively, you can decide to share with only specific people (more on this);
- You can also choose to use an Amazon Echo or other Alexa-capable device to add items via voice commands with the Manage List with Alexa option;
- Determine if your list is personal or for an organization with the List Is For option;
- Add the name of the person or organization that purchased items from your list by adding Recipient;
- Use the Description option to help others find your list easily when searching;
- You can also set your wish list to retain or remove an item that has been purchased either by you or anyone you’re your list using the Keep purchased items on your list: customization option;
- You can use the Delete List button to remove your Amazon Wish List from the platform. Using this will result in a permanent loss of saved items and can’t be undone.
When you are done with your customization process, click on the Save Changes button to ensure your changes are effected.
How to add items to an Amazon Wish List
After creating your Amazon wish list, you have to populate it with items before proceeding to share it with others. When browsing through an item page, the “Add to Wish List” or “Add to List” button is usually below the “Add to Cart” button. This button is available on all product pages making it easy to add an item to your list.
Adding items to your list is dependent on the platform you are using. Hence, there are two ways to add items to an Amazon wish list:
1. Using Amazon Web on a Computer
If you are using a computer, then this is how you will add items to your wish list:
- Search for the item you wish to add;
- In the Buy box, click on the Add to List option to add it to your default list;
- If you have multiple lists, you can click the down arrow to choose the list you wish to add the item to.
- After this, the item is added to your list, and you can continue shopping for more things to add.
2. Using Amazon Shopping App on Mobile
If you are using a mobile device, then this is how to add items to your wish list:
- Open the Amazon app on your device;
- Search for the item you wish to add;
- From the item’s page, scroll down and click on the Add to List Option;
- If you have multiple lists, select the one you would like the item to be added to.
After adding an item, you can include a comment, assign it a priority and enter the quantity you want. By default, Amazon will remove an item from your wish list unless you change this with the “keep purchased item on your list” customization during the setup of the list.
How to make Amazon Wish List public
Changing your Amazon Wish List privacy settings is easy and can be done at any time. So, if you ever need to adjust who can see your registry, just follow these simple steps. The process is straightforward, and you can change your settings at any time.
Your gift list is automatically set to Private during creation, which means no one can see your registry until you change the privacy settings. Here’s how to change your Amazon Wish List privacy settings:
- Go to your Amazon Wish List The first step is to navigate to your Amazon Wish List page. You can do this by logging into your account on the website where you created the registry.
- Select the Amazon Wish List you’d like to change If you have multiple registries, you’ll need to select the one you want to change.
- Select Settings On the Amazon Wish List page, click the ‘Settings’ button. This will take you to the settings page.
- Choose Your gift list privacy setting On the settings page, you’ll see an option to change your gift list privacy. You can select one of three options: Public, Shareable, or Private.
- Public: If you choose this option, your gift list will be visible to anyone who visits the website. Your registry will also be indexed by search engines, which means it can be found by anyone who search wish lists on amazon.
- Shareable: This option allows you to share your gift list with specific people. You can send them a link to your registry, and they’ll be able to view it. However, your list will not be indexed by search engines, so only those with the link can access it.
- Private: This is the most secure option. Your gift list will not be visible to anyone other than you and the people you share it with. It will also not be indexed by search engines, so it won’t be found by anyone who doesn’t have access to it.
- Save your changes Once you’ve selected the privacy setting you want, be sure to click the ‘Save Changes’ button to ensure your new settings are saved.
With these privacy settings in place, you can enjoy creating your wish list without worrying about unwanted eyes seeing it.
How to remove items from Amazon Wish List
Editing or deleting items from your list is easy, and it only takes a few simple steps. Keep in mind that only the list owner can edit items in a list. Head to your list and locate the item you want to change. Once you’ve found it, you can make the necessary updates or delete it entirely. Here’s how to do it:
Editing an item in your list
To update an item on your list, follow these simple steps:
- Select the item you want to update
- Click on ‘Add comments, quantity & priority’
- Make the required changes
- Click ‘Save’ to ensure your changes are saved.
Deleting an item from your list
If you want to remove an item from your list, you can do it in seconds. Here’s how:
- Select ‘Delete’ next to the item you want to remove
- Confirm that you want to delete the item
- And just like that, it’s gone.
Moving an item to another list or registry
Sometimes, you may want to move an item from one list to another. Here’s how you can do that:
- Select ‘Move’ next to the item you want to change
- Choose the list or registry you want to move the item to
- Click ‘Save,’ and the item will be moved to its new location.
If you still have doubts about sharing Amazon Wish List, here are a few reasons to convince you:
1. Effective tool for product research and idea
If you are a seller on Amazon, you can rely on the Amazon Wish List to conduct detailed research on what products to sell. By viewing the stats on it, you can see what products are being searched for and which are currently being bought by shoppers. You can also use the pricing and features of each product on the list to finalize what to and what not to sell.
2. Offers avenue for price reduction alert
Another advantage the Amazon Wish List holds is that sellers can use it to notify potential buyers of changes in price. This is great for driving customers’ attention to your product since they get an alert whenever there is a change in price, which is excellent for your promos and giveaways. Price drop alerts tend to nudge customers towards buying a product, which translates to more sales for you as a seller.
3. Quick gift idea list
For shoppers, having a well-curated list of potential items to buy can help save time and effort. They can use the Amazon Wish List to streamline their shopping. They can even send this to friends and family to pick out a gift item for them during special occasions. It’s essentially a gift idea list that is easy to spread.
4. Promotion and marketing material
The Amazon Wish List is a seller’s prime marketing material great for consistent promotional efforts. You can use your list to get your audience to talk about items on pages and groups on social media. Engaging with your target audience with contests is also a great way to conduct market research on new products as well as to sell the products that you already have.
Does Amazon Wish List remove purchased items?
Yes, Amazon automatically removes items from your wish list once they have been purchased. This is to help keep your list organized and up to date, so you don’t end up with duplicates or items you no longer need.
But don’t worry, if you want to keep a record of the items you’ve received as gifts, you can always go to your order history and view the details of your past orders. This will show you everything you’ve purchased or received, including items from your wish list.
Conclusion
The Amazon wish list is an imposing feature to take advantage of. And when you combine it with the reach of social media platforms, you can truly leverage the index to its full potential. Asides from this, you can also share it directly to friends’ emails or as text messages. And for sellers, the advantage can be greater than quick insights into trending products and buyers’ mindsets.